Overview
Create and configure a Web Widget channel in the Unifonic Console. You can customize its appearance and behavior, connect it to a chatbot, and add it to a website or mobile application.
Before you begin
- Confirm that you can access the Unifonic Console.
- Identify the website URL on which you want to display the widget.
- Prepare an existing chatbot, or create one by following the Chatbot User Guide.
Create a Web Widget channel
- In the Unifonic Console, go to Channels > Web Widget.
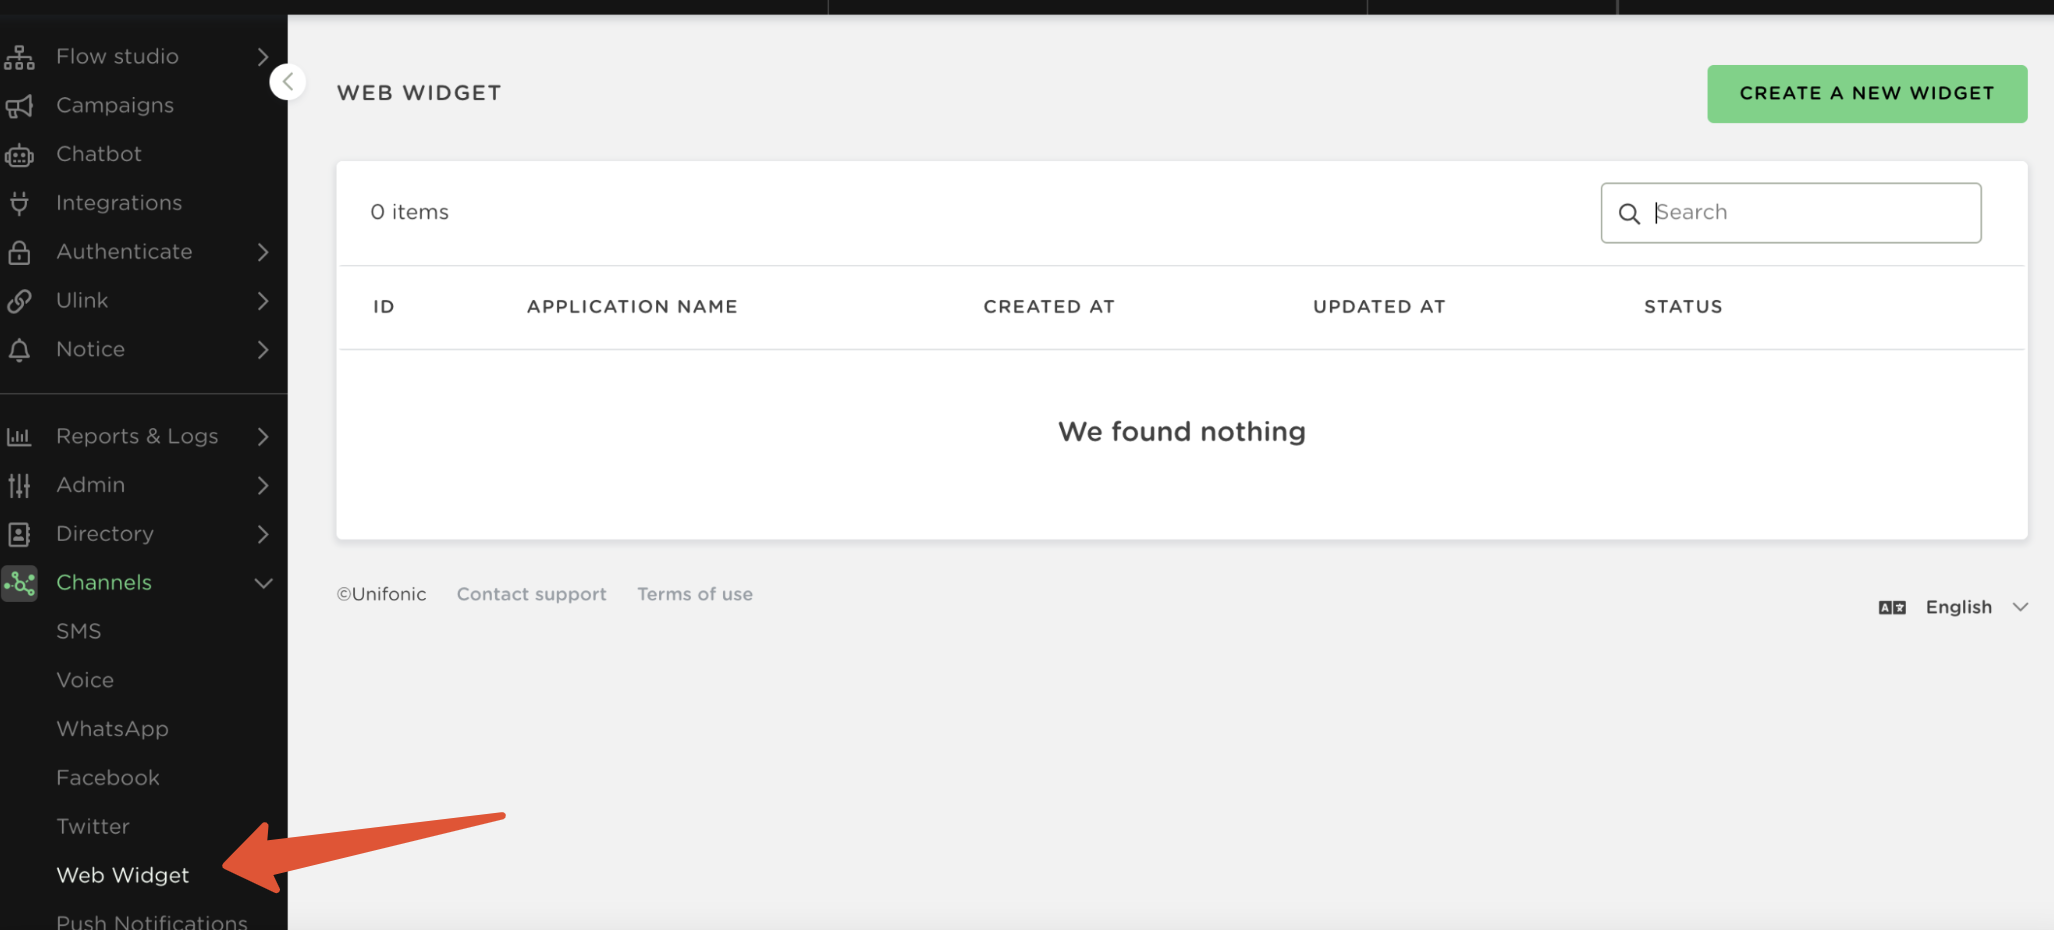
- Create a Web Widget channel and enter a name for the widget.
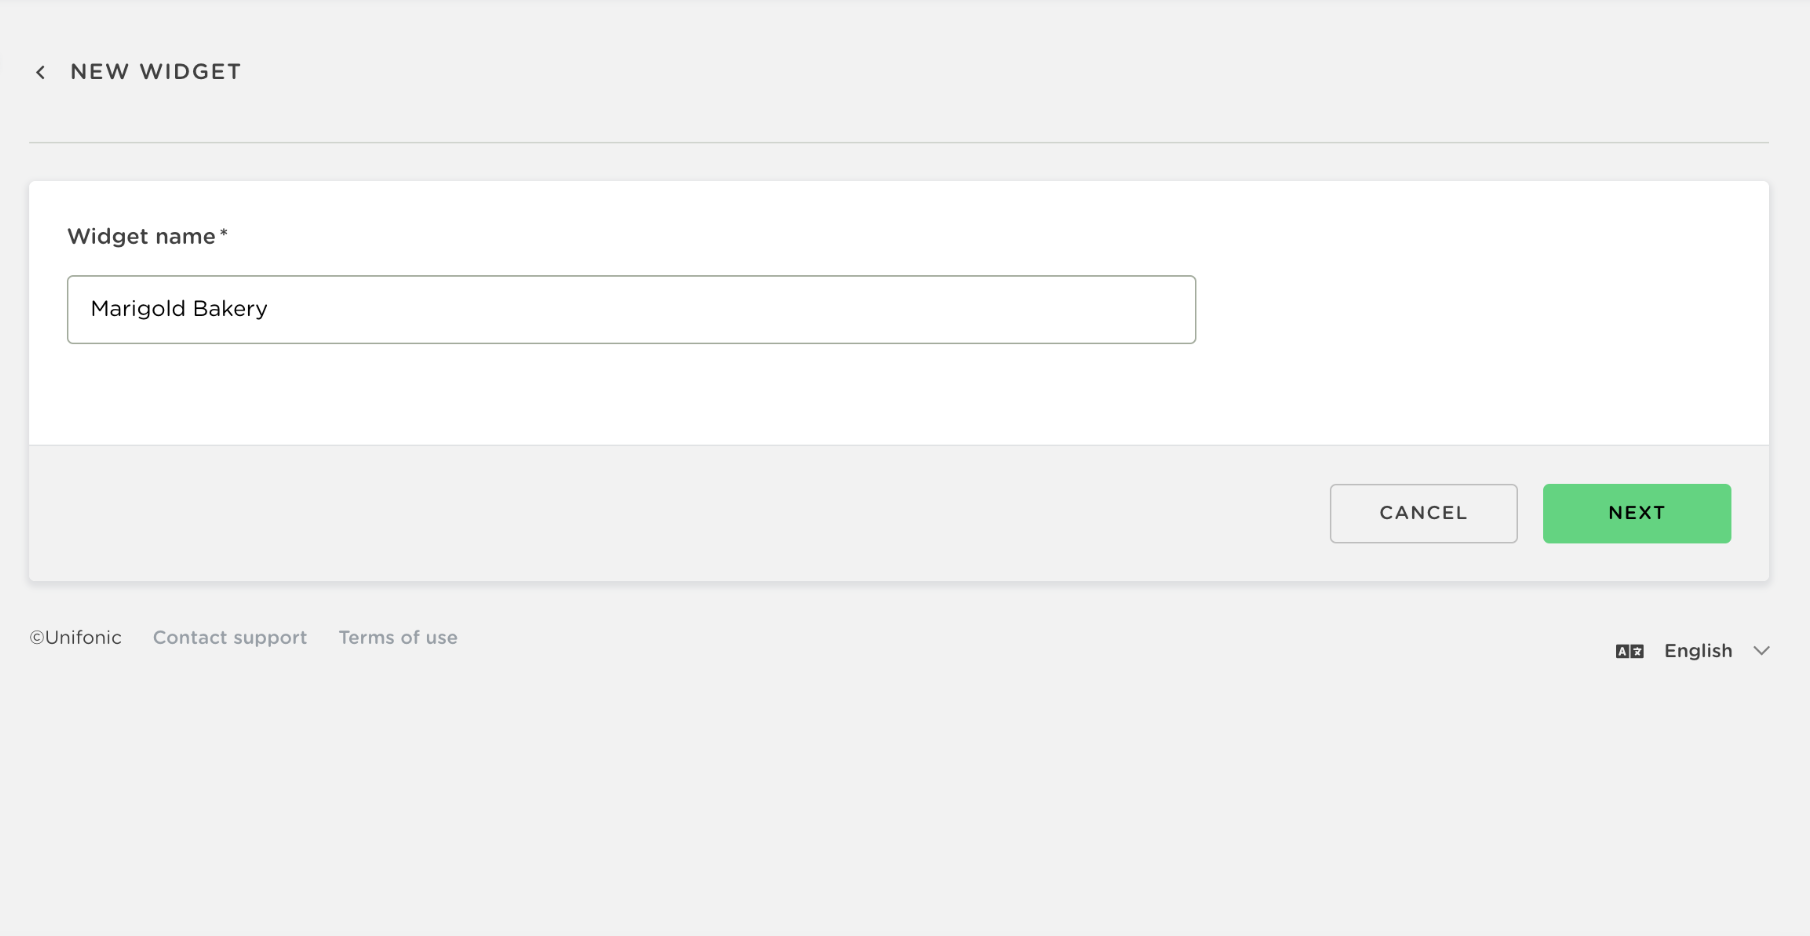
- Select Next to open the settings page.
Customize the widget appearance
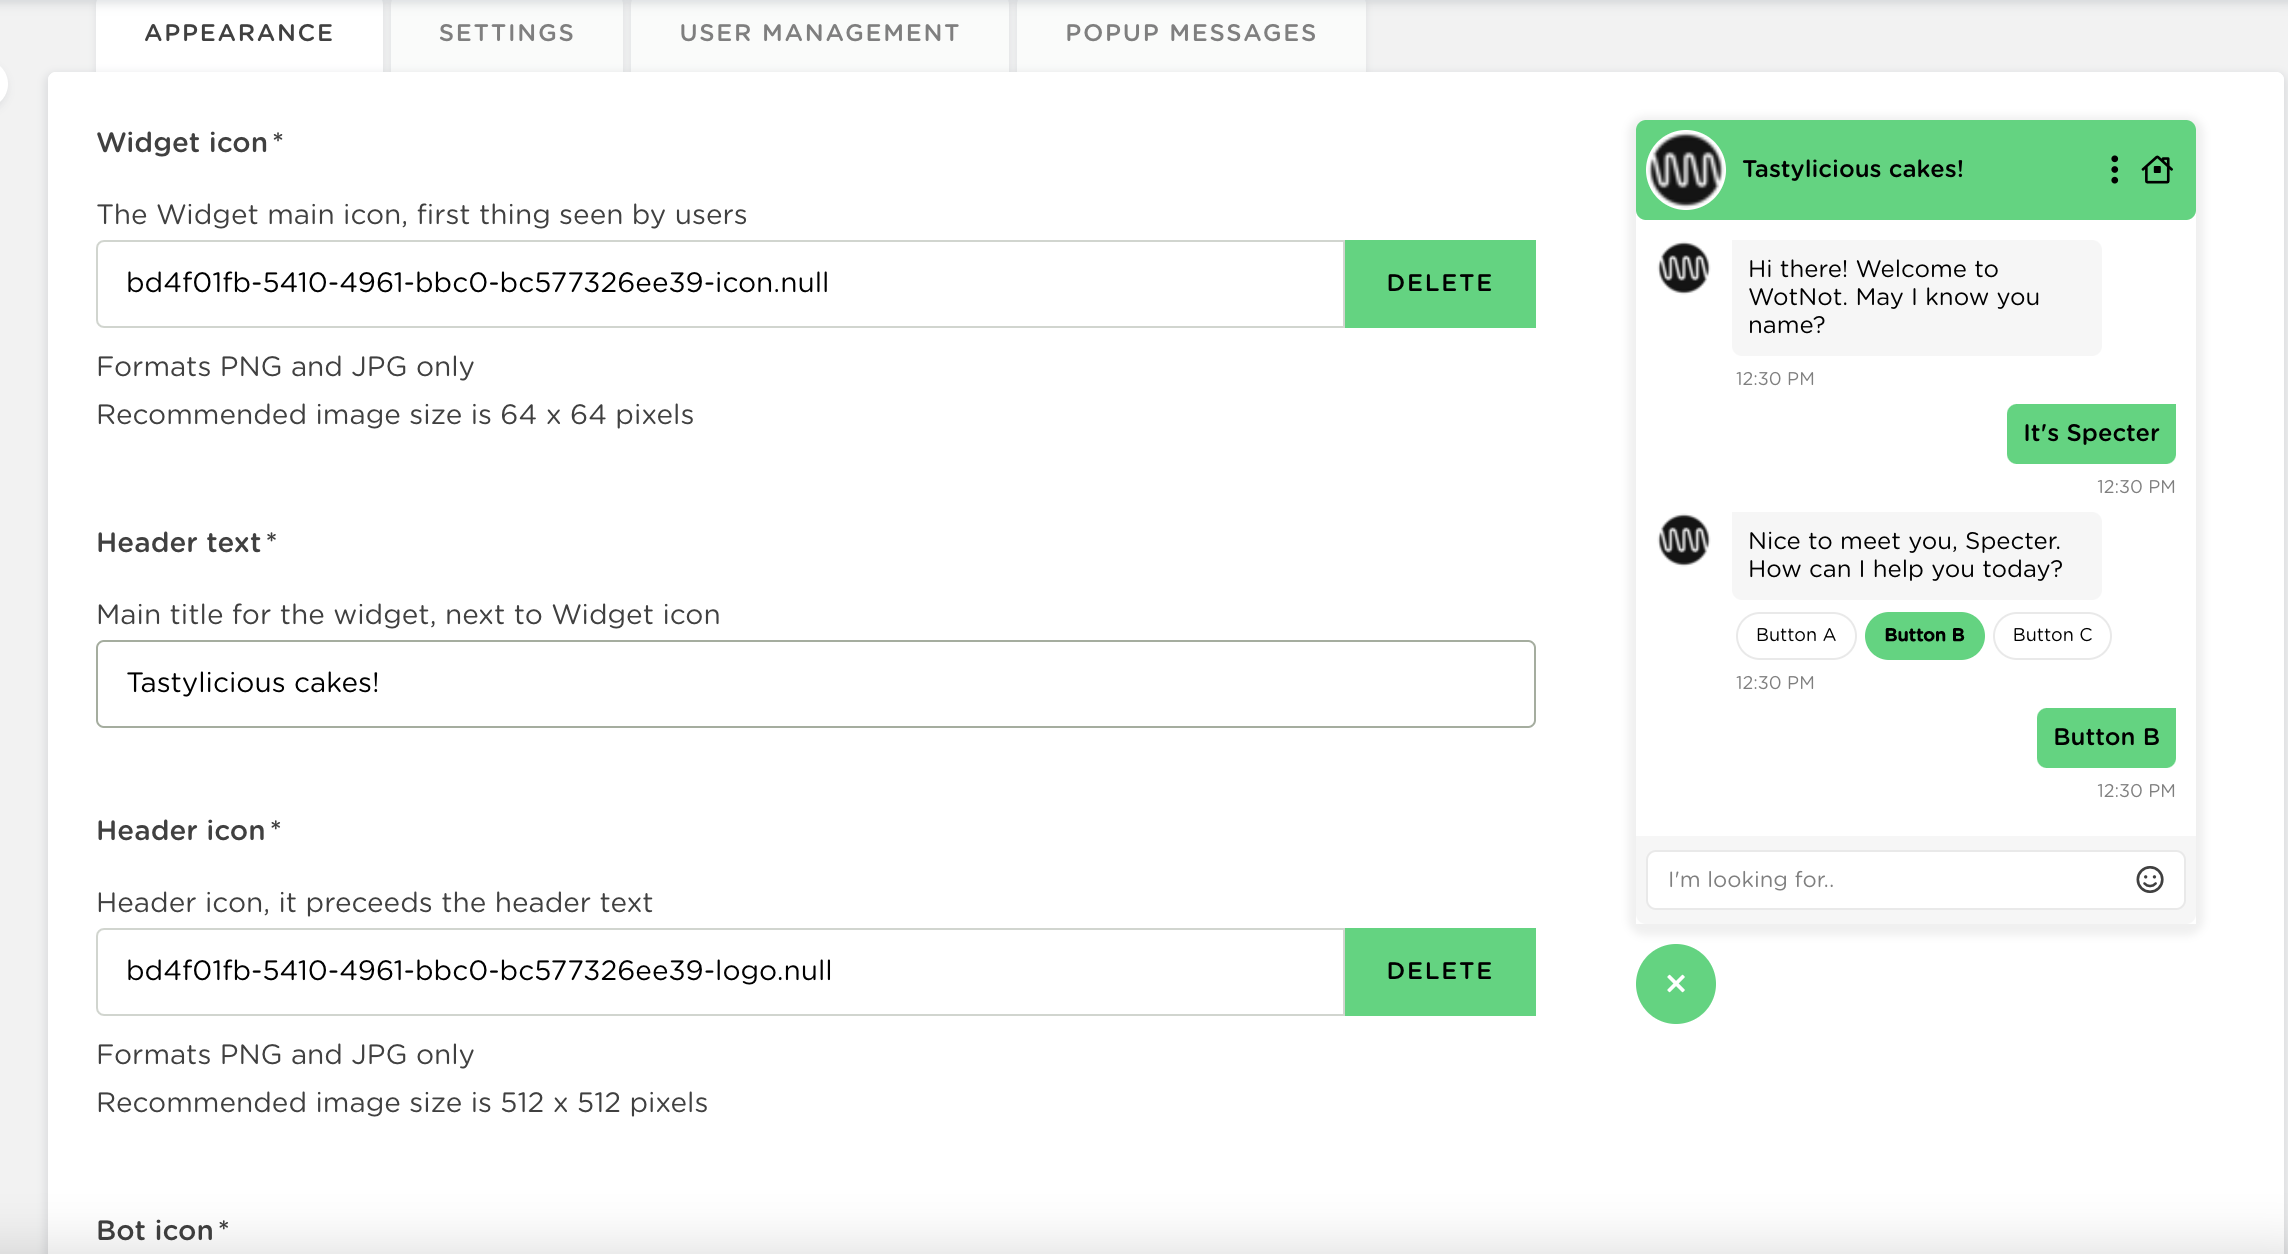
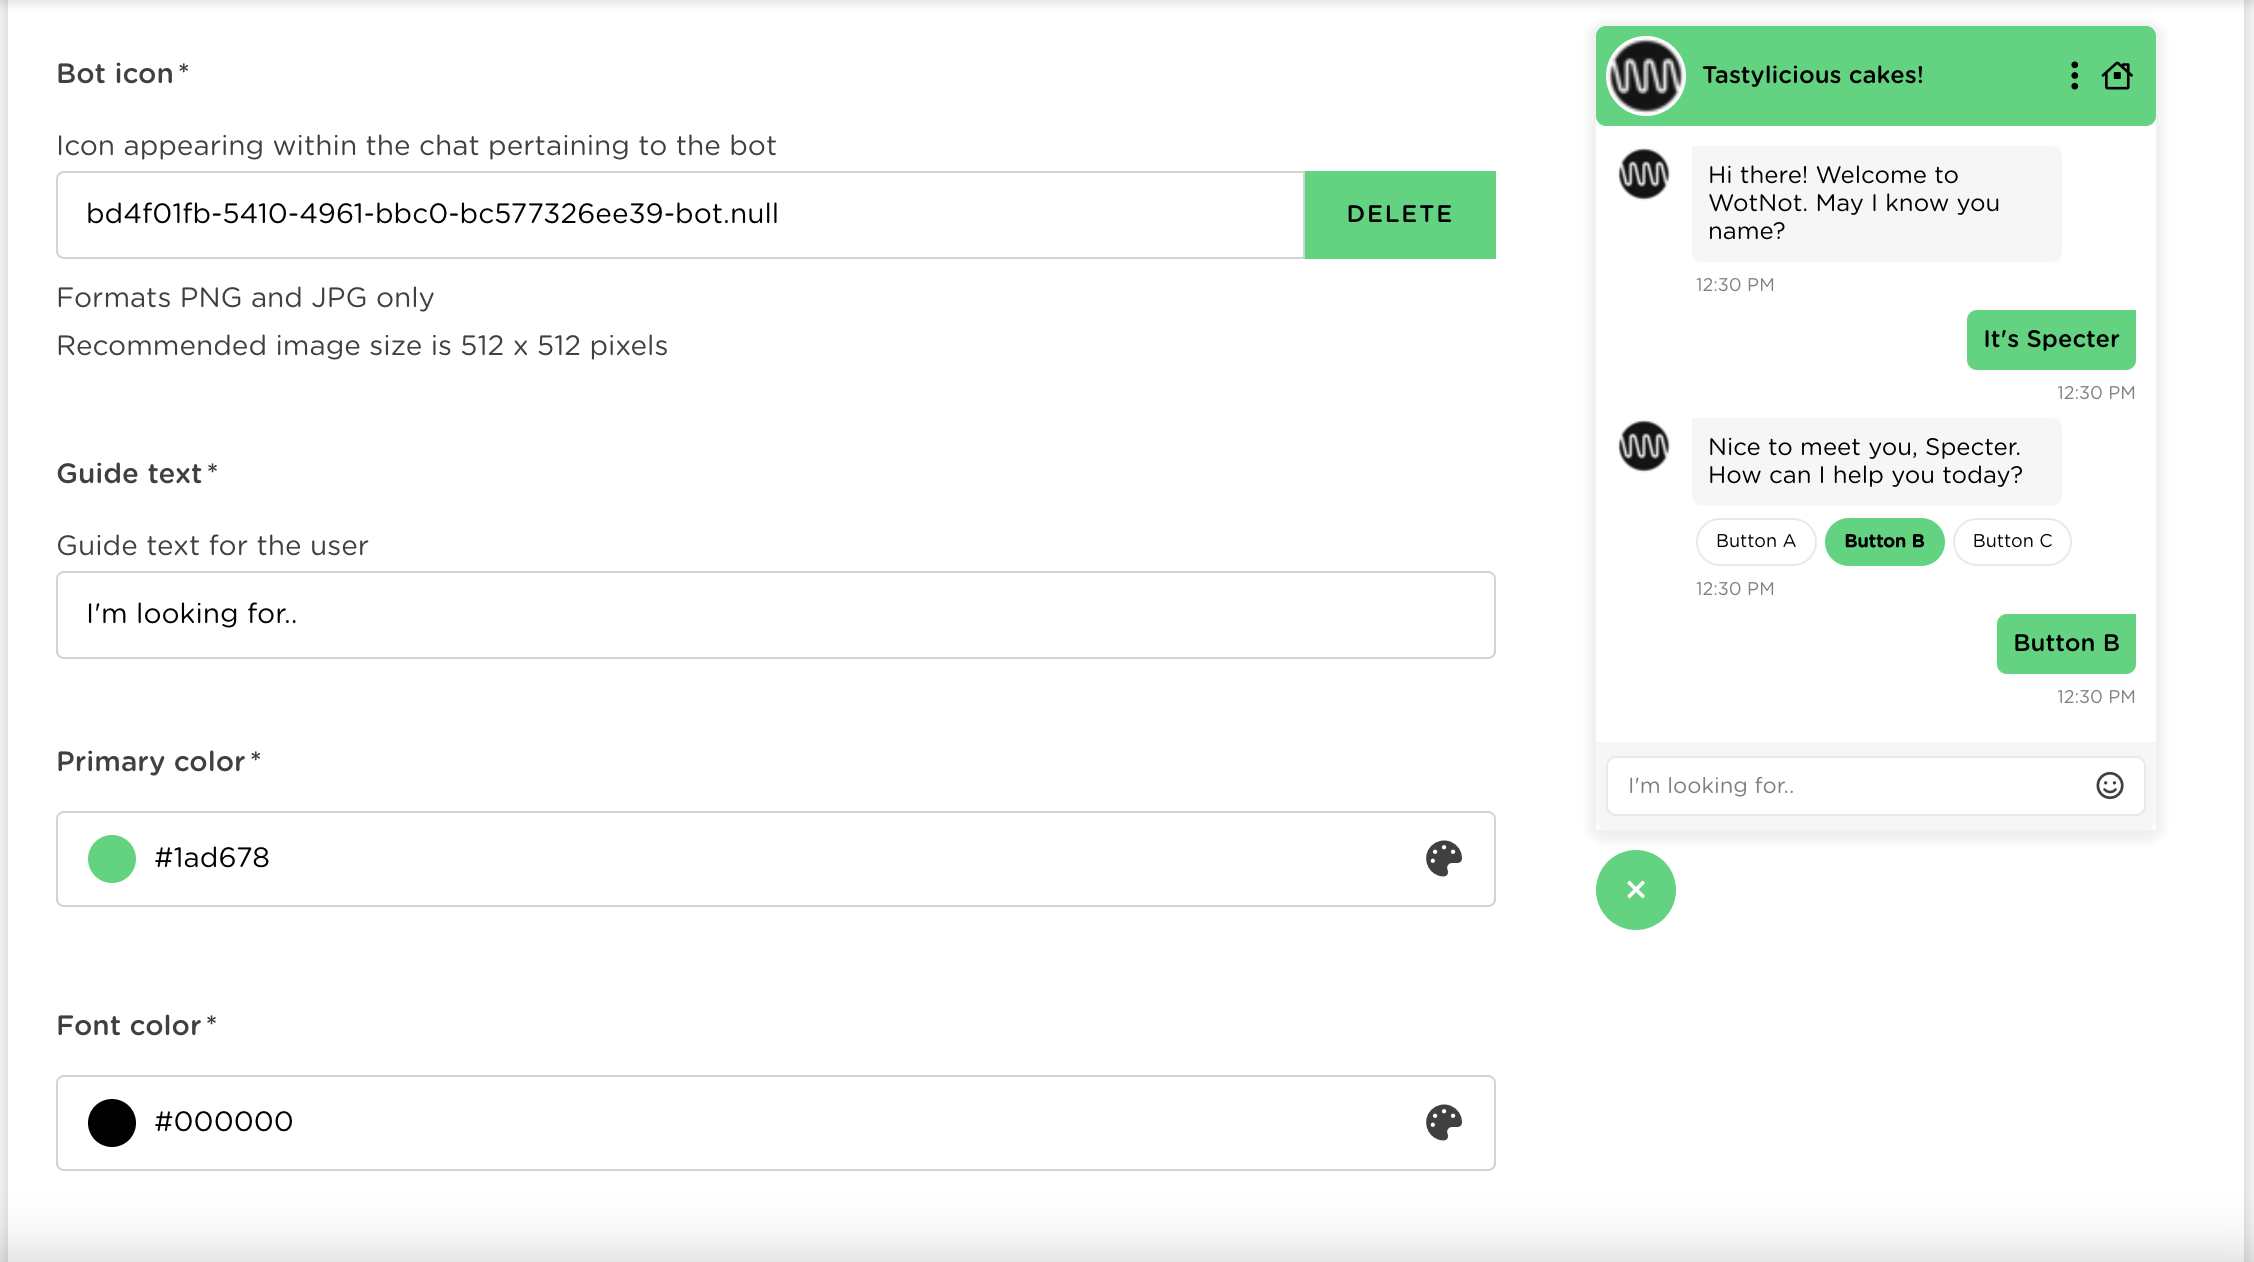
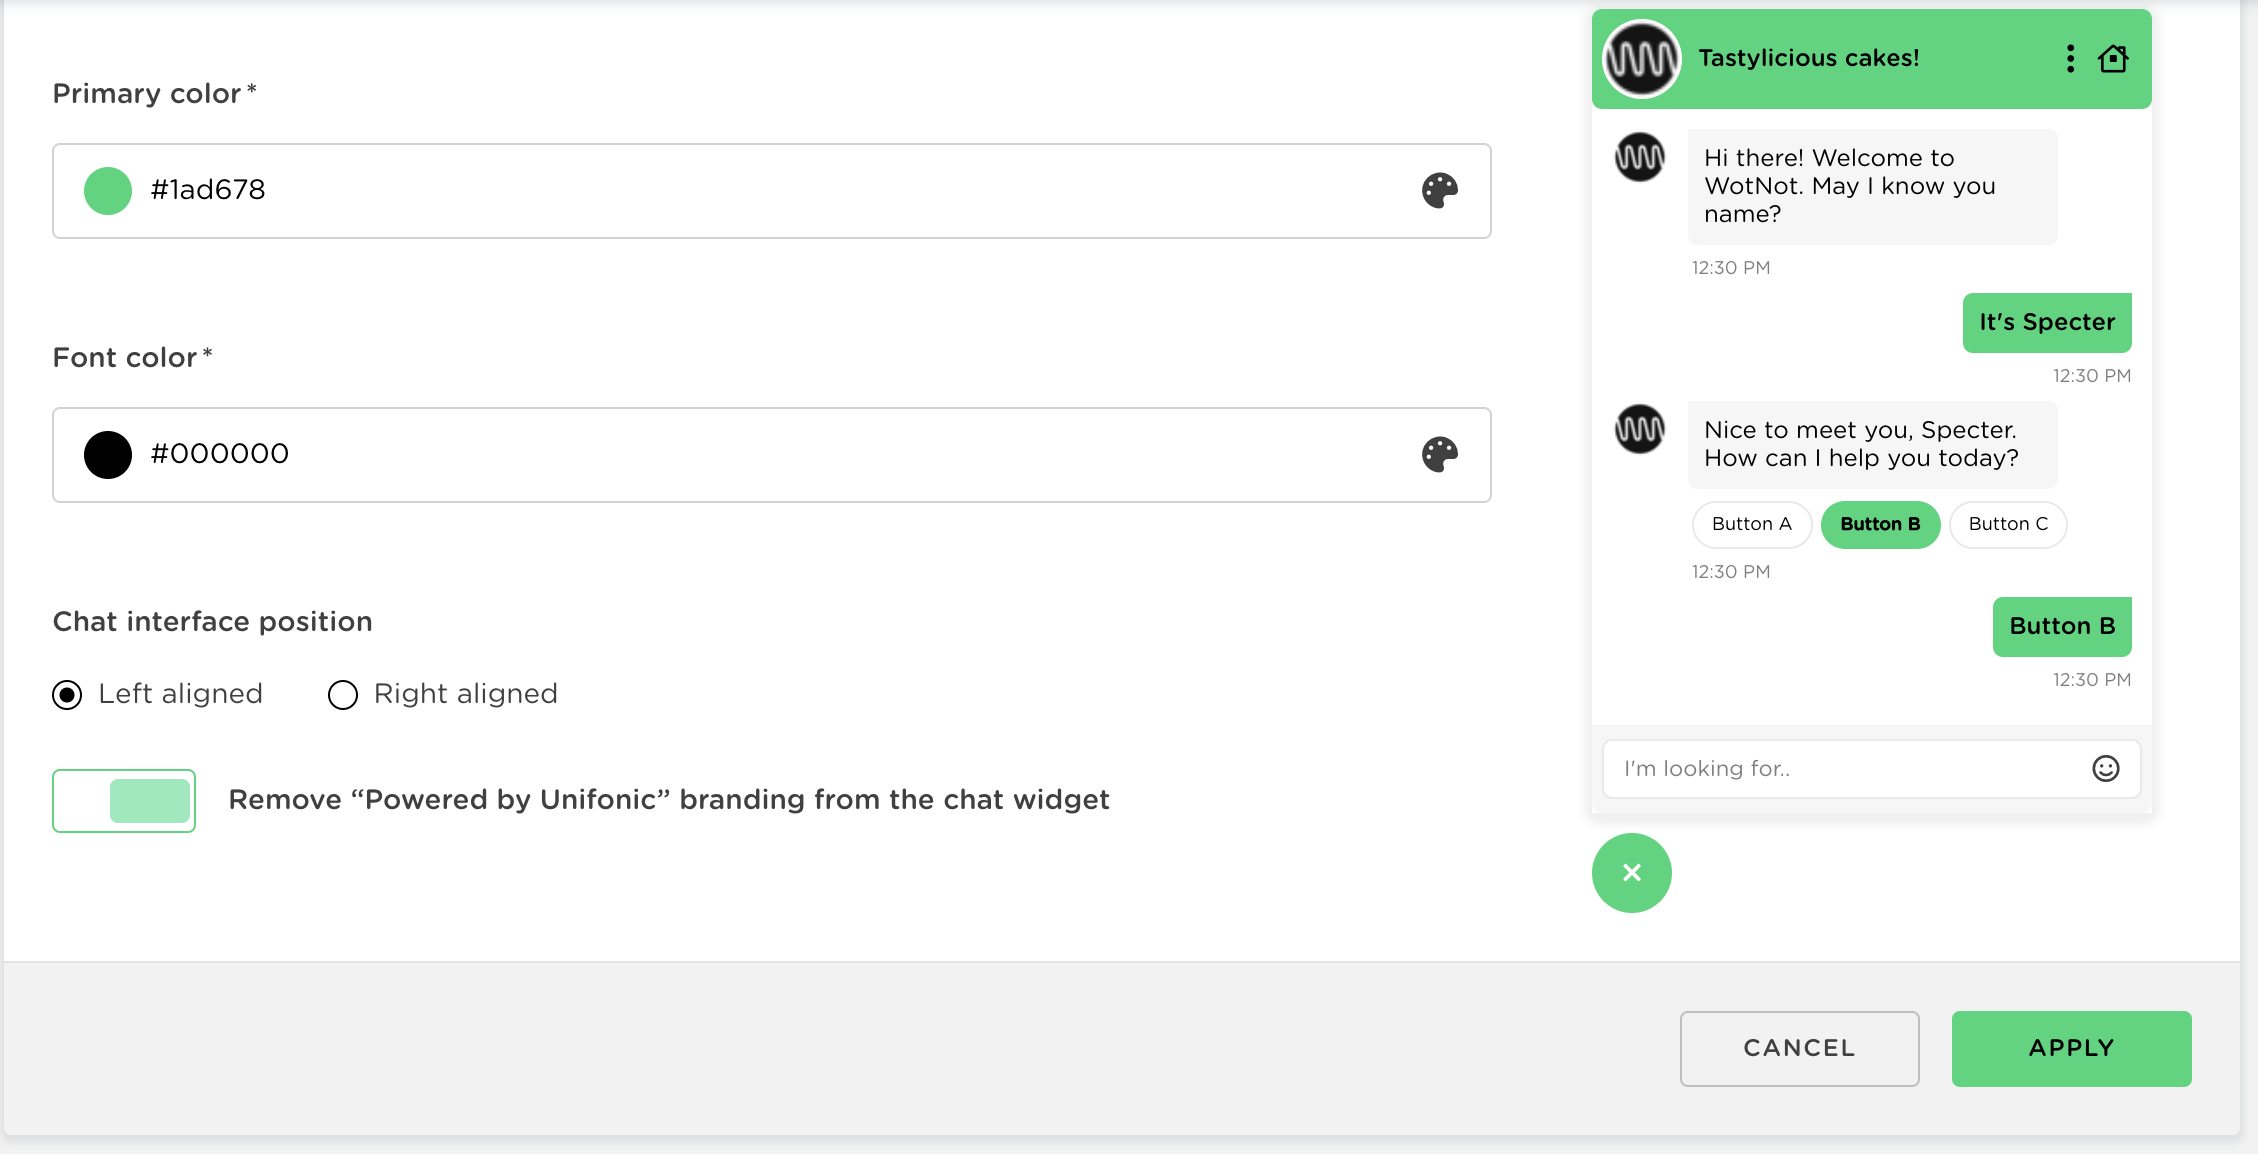
Configure the following appearance settings:
- Web Widget main icon
- Main title
- Header icon
- Bot icon
- Guide text message
- Font color and primary color
- Window position
- Visibility of the Powered by Unifonic branding
Configure system settings
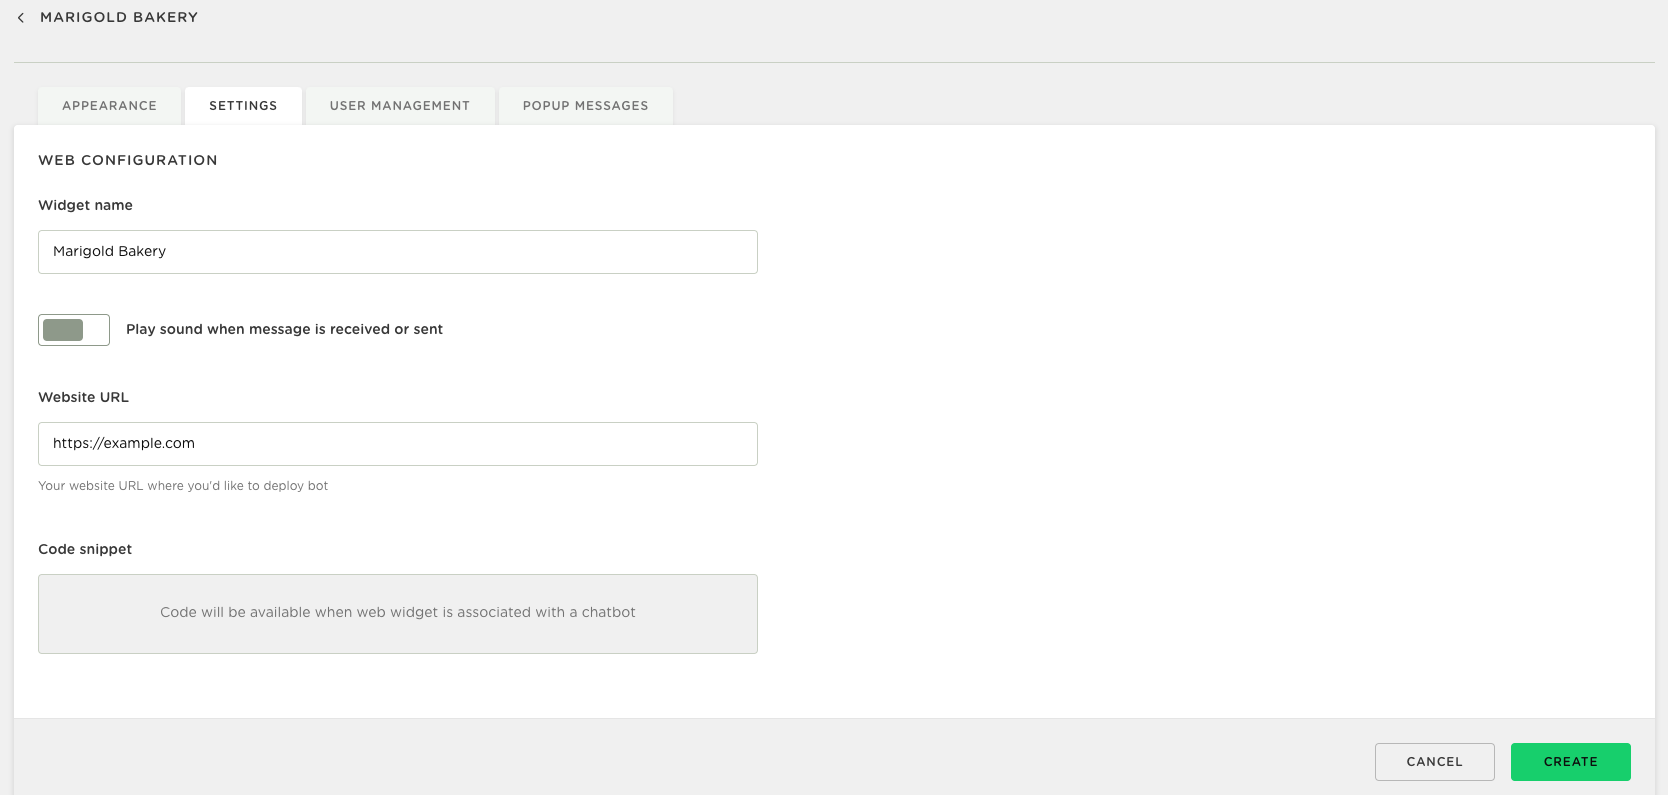
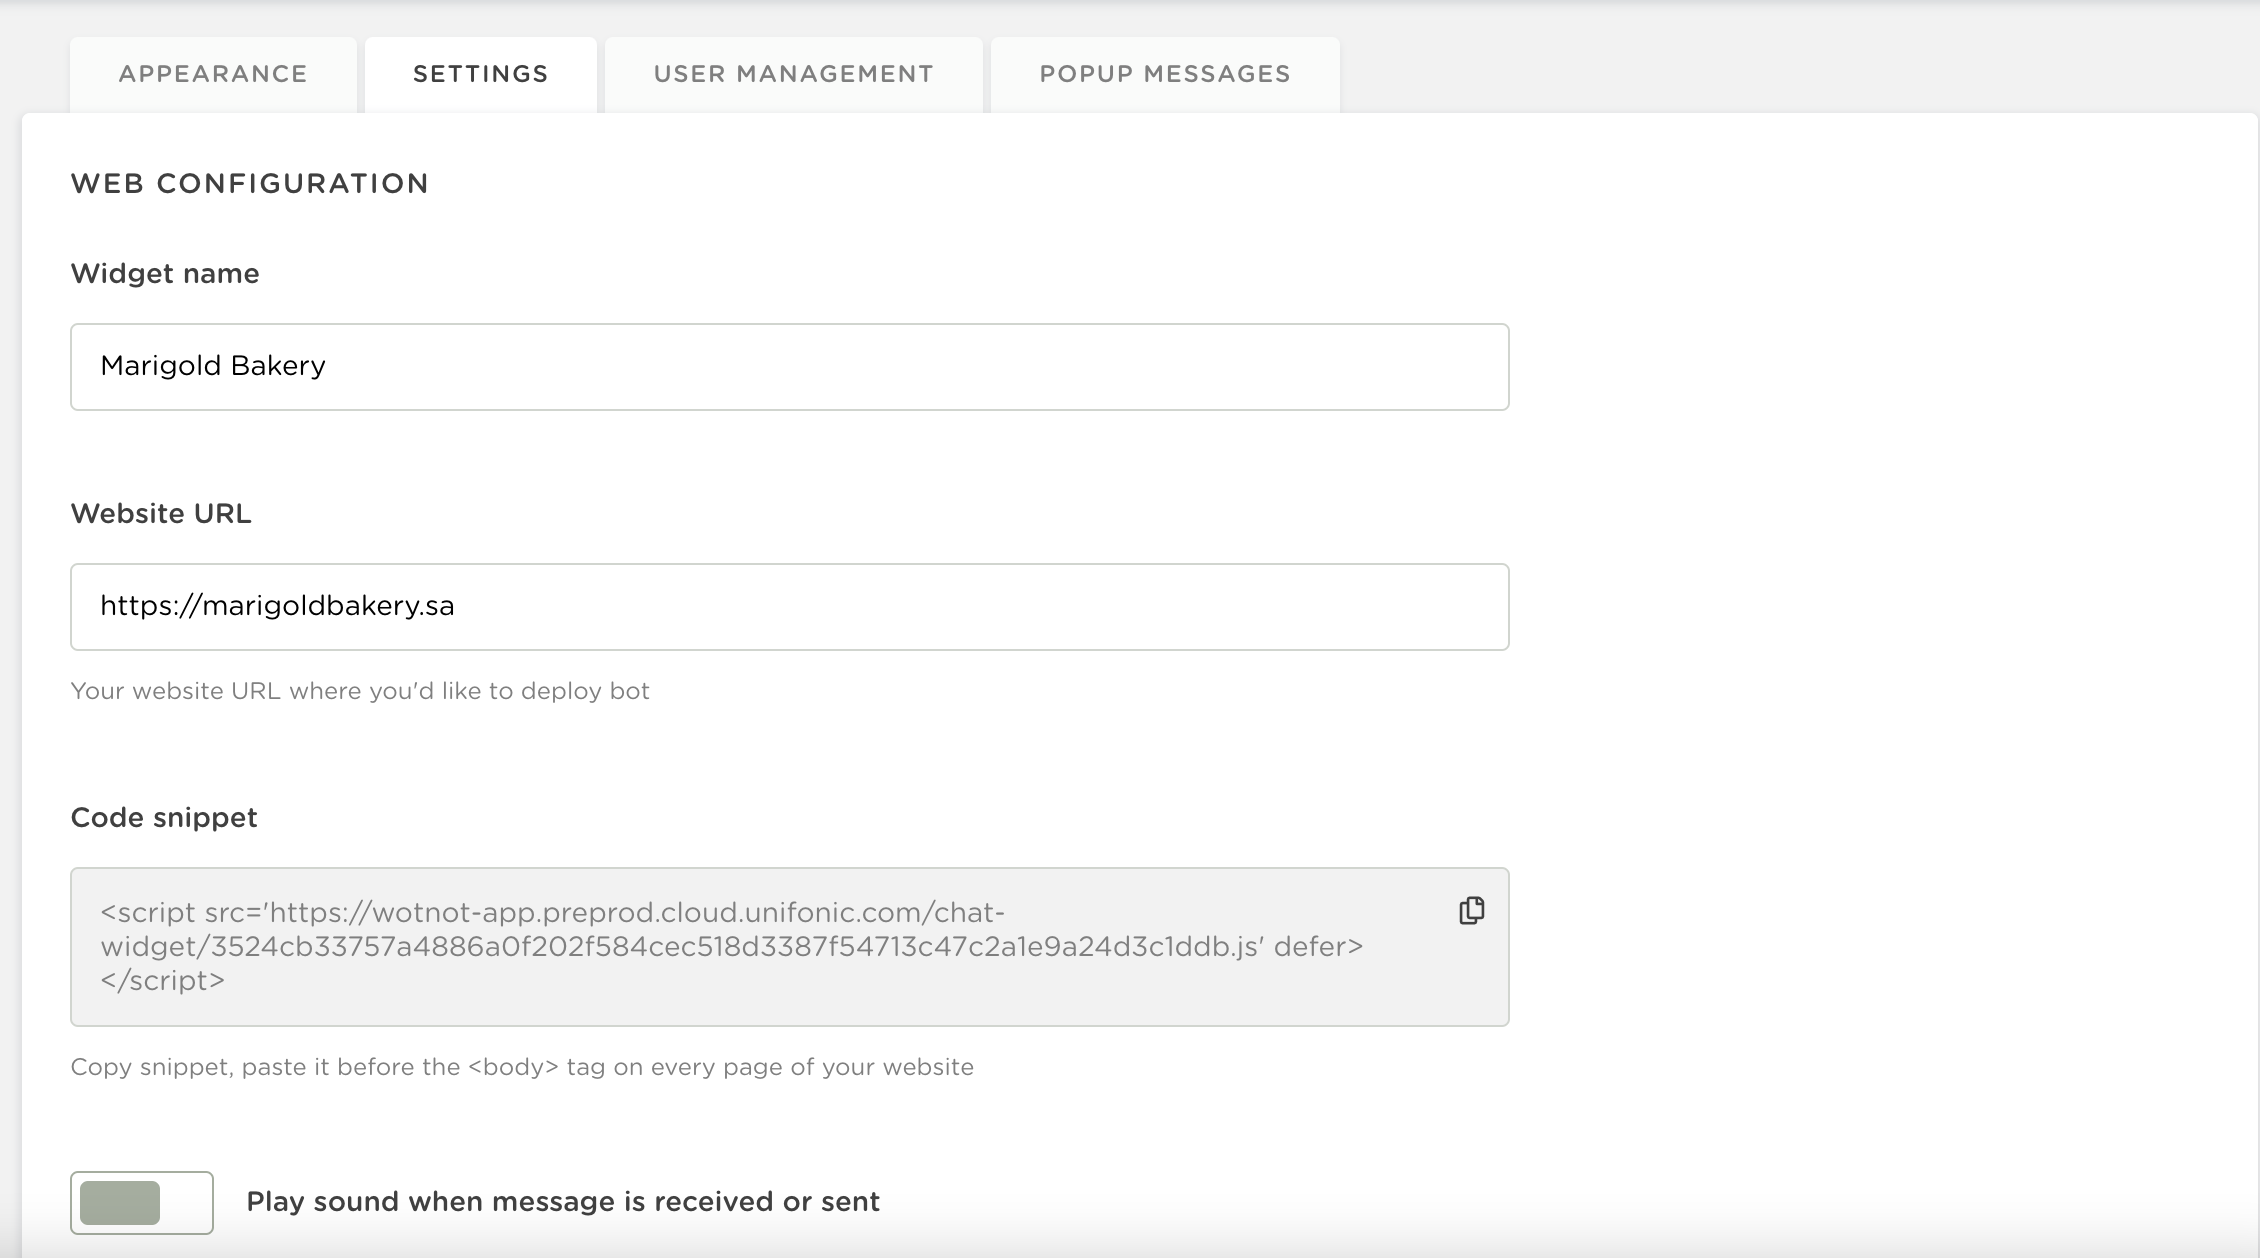
Configure the following system settings:
- Website URL: The website on which you will host the widget.
- Code snippet: The JavaScript code that runs the widget on your web page.
- Sound settings: The sound played when a new message is received.
 |
No code snippet? The code snippet becomes available only after you connect the Web Widget to a chatbot. Associate an existing chatbot or create one by following the Chatbot User Guide. |
After you connect the Web Widget to a chatbot, the code snippet appears in the system settings.
Configure user behavior
In User Management, configure the widget and bot behavior for new and returning users.
New users
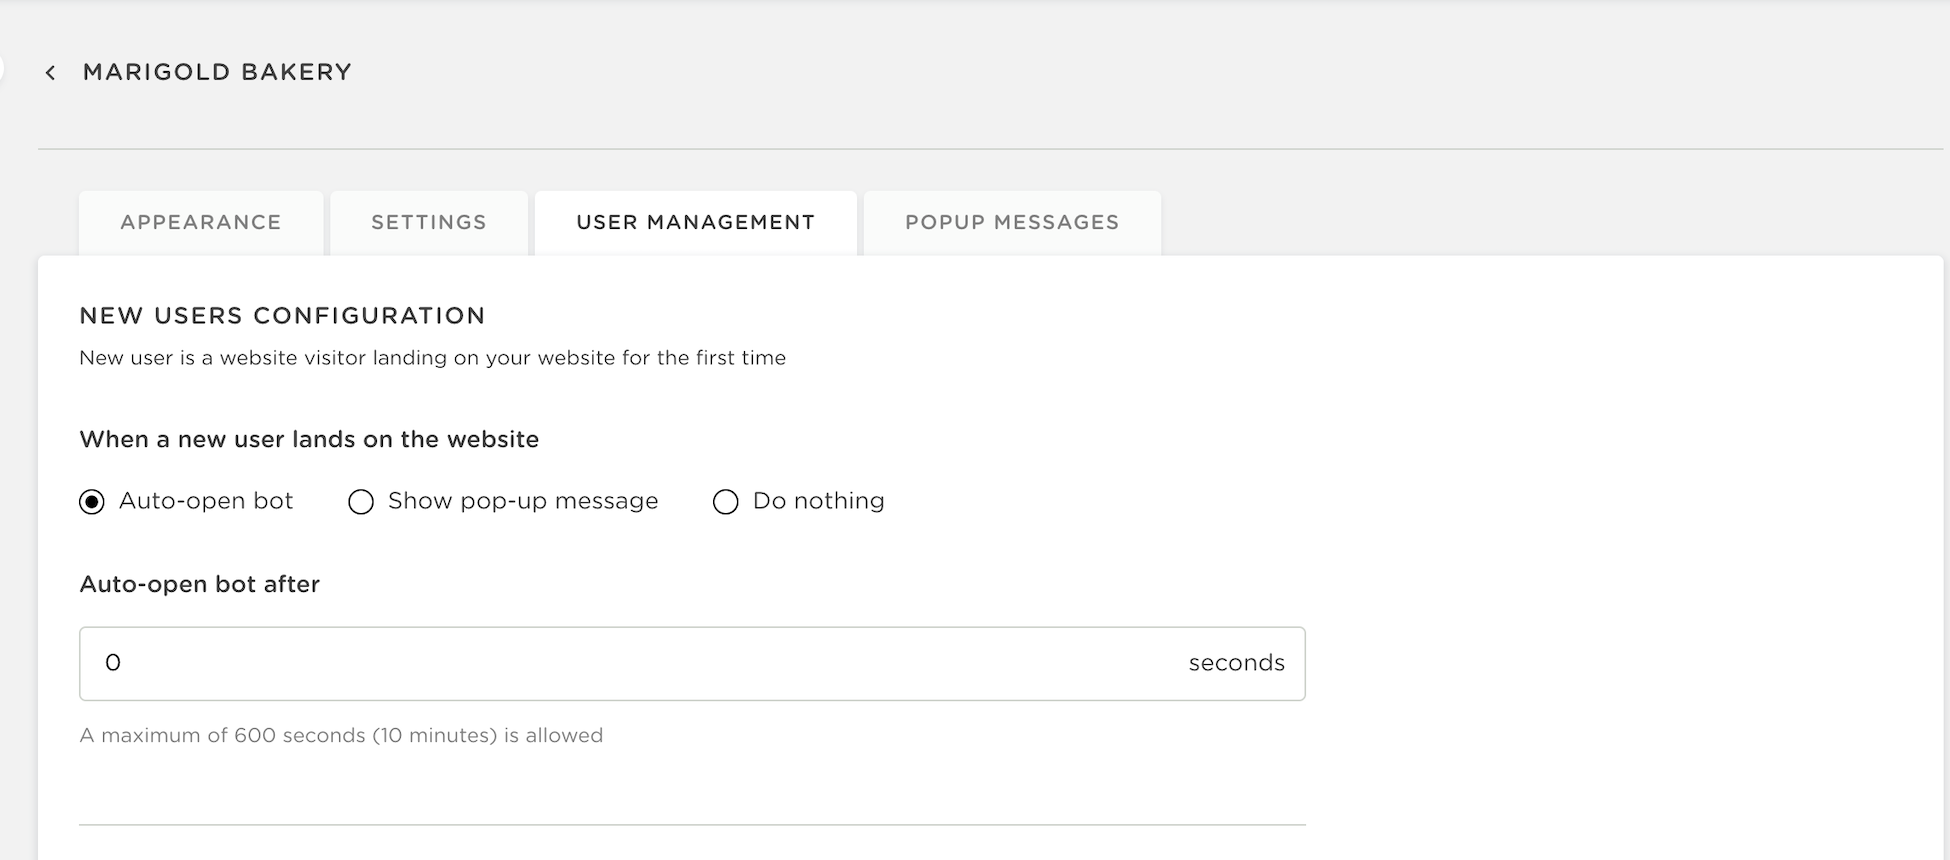
Select one of the following behaviors for users who open the web page for the first time:
- Automatically open the chatbot.
- Show a pop-up message.
- Do nothing.
Configure the settings associated with the selected behavior.
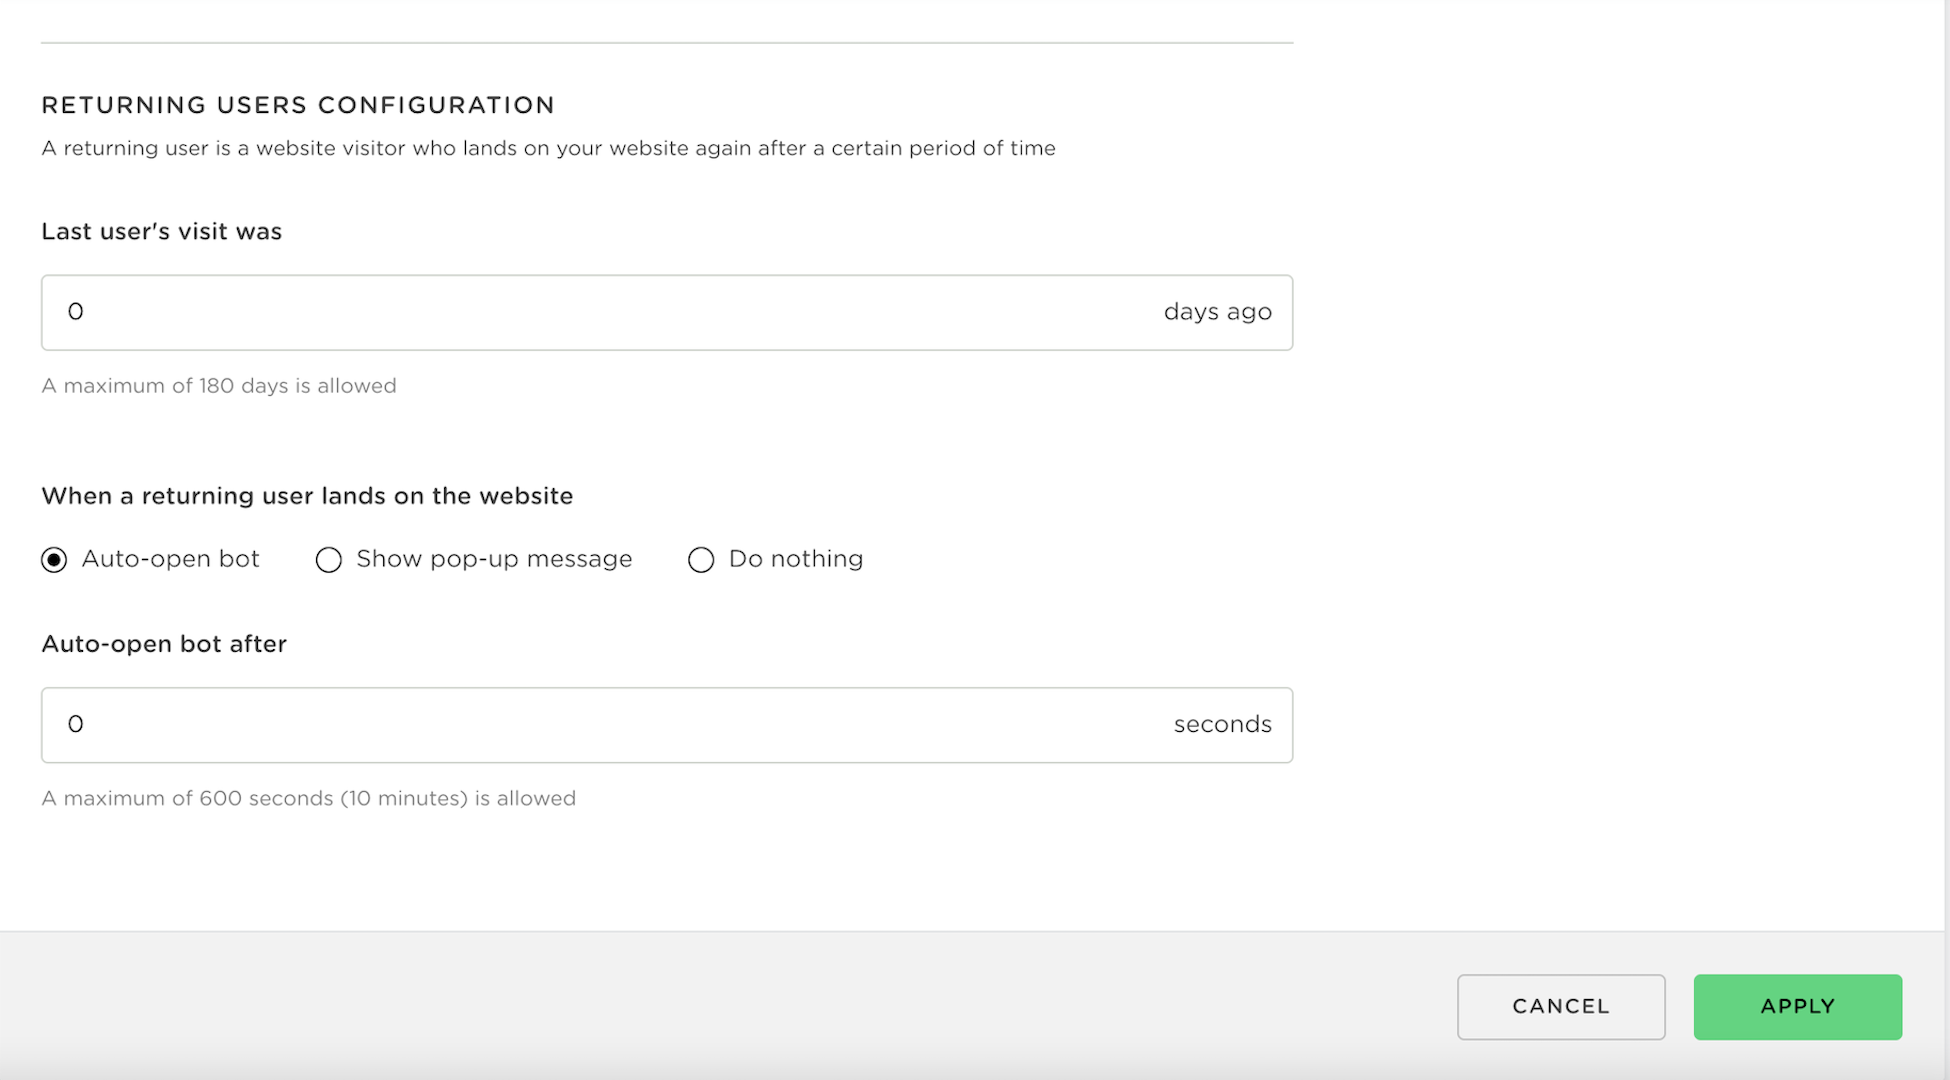
Returning users
Configure a different behavior for returning users. You can also define whether the system treats a user as new or returning based on the time of the user's last visit.
Configure pop-up messages
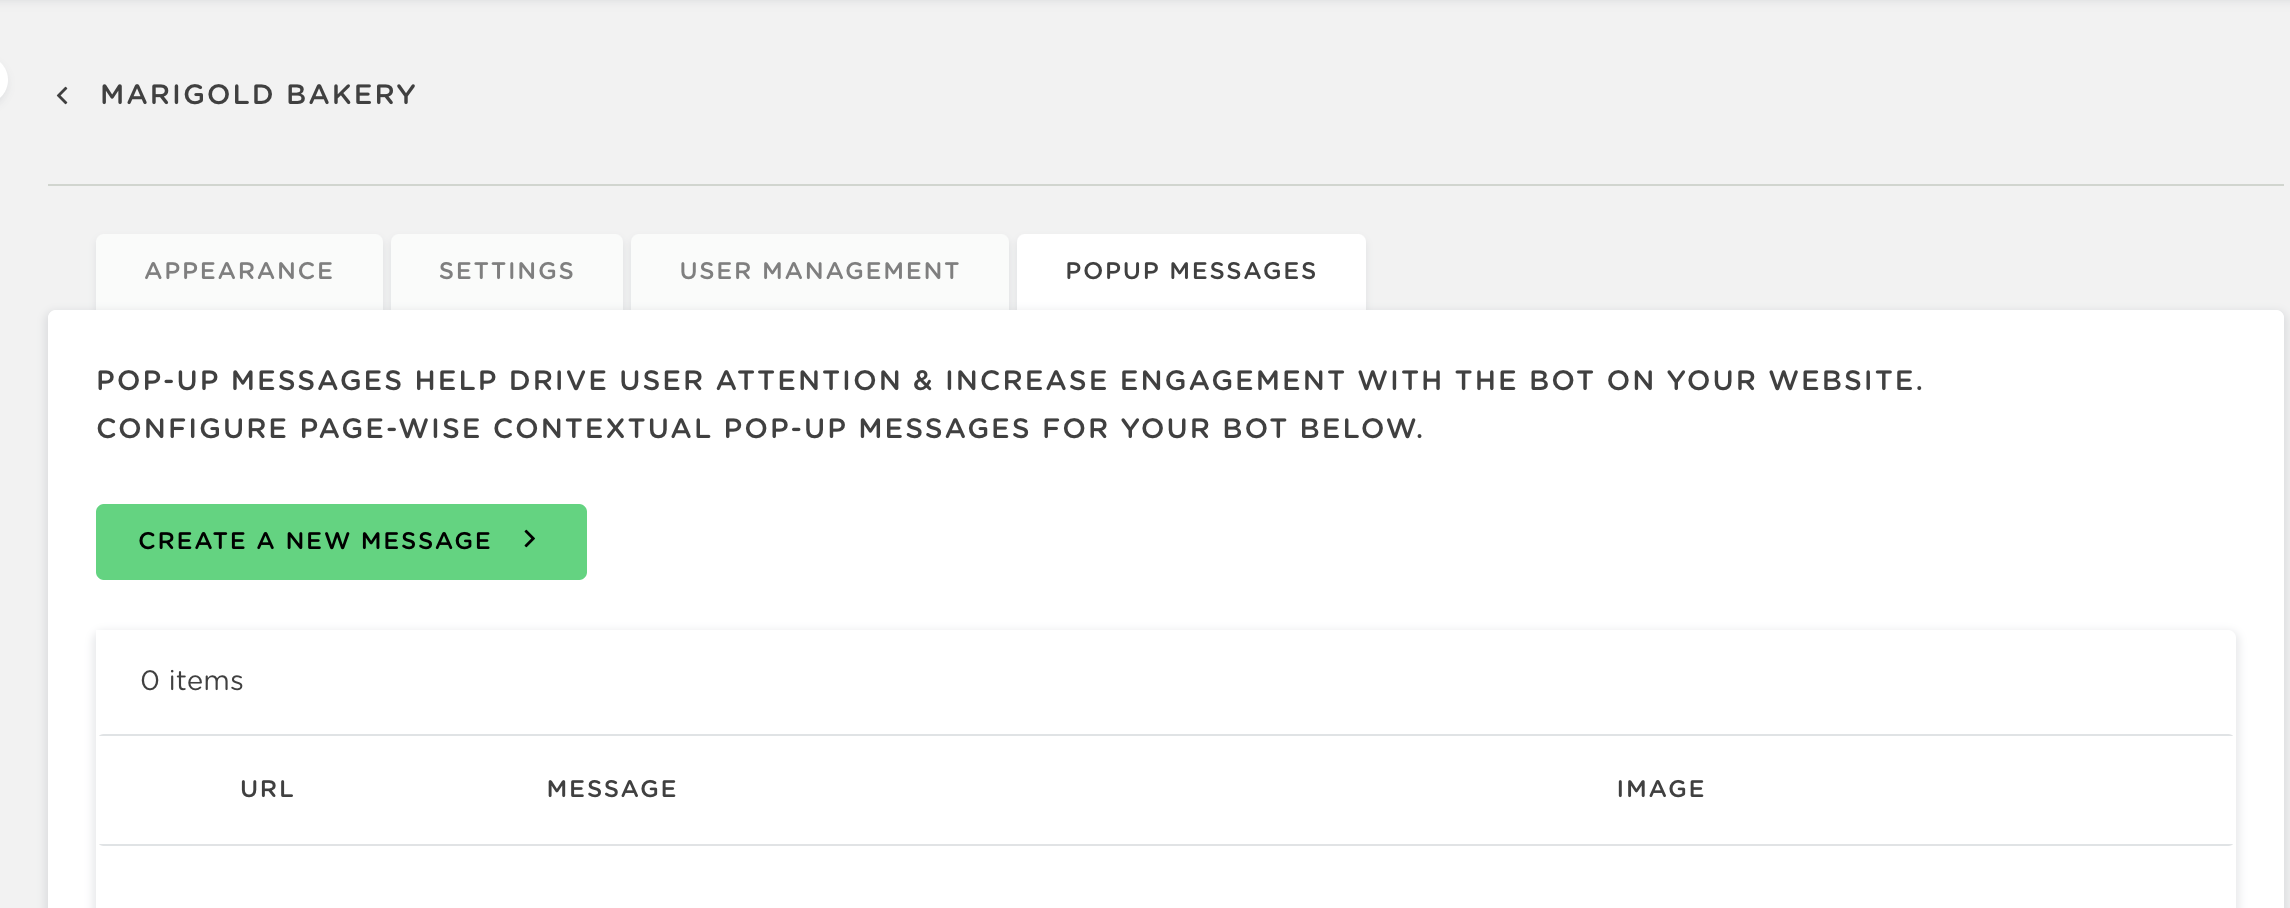
Use a pop-up message to make the Web Widget more visible and encourage website visitors to interact with it.
|
Can't add a pop-up message? This feature becomes available only after you connect the Web Widget to a chatbot. Associate an existing chatbot or create one by following the Chatbot User Guide. |
After connecting the Web Widget to a chatbot, configure the required pop-up message.
Add the widget to a web or mobile application
Add the widget to a website
- Copy the code snippet from the Web Widget system settings.
- Add the snippet to every web page on which you want the widget to appear.
- Open the website URL specified in the settings.
- Verify that the widget is visible.
Add the widget to a mobile application
Use a WebView component in your mobile application to open the web page that displays the widget. The following Android example enables JavaScript and opens the required page:
| java | |
Expected result
The Web Widget uses the configured appearance and user behavior, is connected to a chatbot, and is available on the selected website or mobile application.